The idea of how to convert an image into an embroidery design of your choice really fascinates someone who is really into updated fashion trends. People are fans of customized embroidery designs, and they love doing it, especially when they are crazy about something like BT fans, who love making BT logo embroidery on their clothes or wearing clothes with such logos or trending designs. So in this era, people need every single one of their choices, and if they will get a chance to get an embroidery design done of their favorite image, then it will surely be a game changer. Sewing clothes and making embroidery designs were tough jobs in the past, but now, with the evolution of technology, everything is possible, even in seconds.
So if you want to know how this is possible, then this blog will definitely help you. First, we’ll go over embroidery file formats, then show you how to digitize an image into an embroidery design and which software’s do it for free, and finally, we’ll recommend the best sewing machine for embroidery.
Embroidery File Format:
A file format is the structure of the file or the type of file that displays the content of the file in a particular form. For instance, picture file formats are png, jpeg, svg, etc., whereas file formats are pdf, doc, html, etc., and a video file format is mp4 and so on. Similarly, the embroidery file format also has a specific collection of data and text that will be used by the software to stitch out patterns on fabric. Embroidery can only be done by using the particular embroidery file format, which is then interpreted and manipulated with the help of software. The most popular formats for embroidery include DST (DDS), JEF, XXX, EXP, etc.
Embroidery file formats are line-oriented formats. The format is also called “stitch file,” “stitches file,” or “SEF file.” The format is created by making tables of data, and each cell contains information about each embroidery stitch to be made, like size, pattern, color, length of the thread, and parameters. Excel spreadsheets can also be used to create tables in some software.
DST And PES As Embroidery File Formats
DST is abbreviated as “Data Stitch Tajima,” introduced by Tajima. It stores information about embroidery design, and software will interpret, manipulate, and store the data to form a pattern on the fabric. DST provides easy-to-read data for most embroidery machines. DST files are designed to store digitised images of conventional sewing patterns.
The PES file format is a proprietary file format owned by a Japanese company called Brother. But it’s not compulsory that it be read by Brother machines only; it can also be read by Bernina and Babylock machines. These files are used to store embroidery data along with bitmap images of various graphic formats.
DST file format is superior to PES file format because it can store multiple types of embroidery stitches in a single file, whereas PES file can only store one image in a single file.
How Do I Digitize An Image For Embroidery File Format?
There are numerous ways that an image can be converted into embroidery. But the most common as easiest way is by using digitizer software. It takes less time, and if you are a novice user, then it would be easier to get a grip on it. And you can excel at it in no time with less effort. If you are unaware of using photo digitizer software, then follow the following steps for the best results:
1. Removing The Image’s Background
If you have an image with some random background, then remove the background of the image by using some background-removing tools that are present on the internet everywhere, and most of them are free. So, you can use them and remove the background of the image.
For instance, here is the link to the background removal tool. If you can’t find any, then you can use this for better results:
2. Convert Your File To A Vector Format.
Now, you need to convert your image into a vector, and you can do this by using the vector tracing technique. It is the most common technique that is present in most of the digitising and vector editing software. You need to place the vector very carefully; this vector output will then be converted into embroidery file format.
3. Import The Image Into The Digitizer Software.
The next step is that you need to convert the image file into the digitizer software by using photo digitizer software and following the prompts. The best part about this software is that you can convert an image with different colours or one colour with different shades because photo digitizer software works on the principles of pixels of color, which are different for every different shade.
4. Preview Your Image
Then, you need to preview the image that you have just imported, and you notice some errors. Most of them can be corrected by adjusting the contrast and brightness of the image, and the rest of the errors will be fixed by using other tools as digitizer software offers many tools that you can use to fix the errors.
5. Crop The Image (remove Any Unnecessary Background)
If you notice some extra background in your image or find something unpleasant in your image after editing and want to remove it, many digitising softwares include a cropping feature that allows you to crop your image after editing and make it your desired image.After cropping and editing, you are all set for the digitising step. So the next step will be digitizing.
6. Digitizing (Start Conversion)
Navigate to the Tools menu, then to the bitmap icon, and finally to the digitize icon. After clicking on the digitize icon, a digitizer window will appear; under presets, choose embroider. This is the most important step that you can’t miss at any cost. because some file formats cannot be converted into embroidery while others can. So you have to see whether the image is in PNG format or JPEG format. Because PNG files can be easily converted into embroidery files, whereas other file formats cannot be easily converted into embroidery because they are not all-inclusive.
After you click on the digitize option, you will be asked several questions, like the colours of stitches, stitch count, width of stitches, and so on, which you have to answer because on these instructions the embroidery will be made, so make sure to enter the same colours as the image to obtain the desired results.
There is no need to use specific embroidery software to digitize an image into stitch information; most of them have it built-in as an option. You just need to follow the given guidelines.
Software To Convert An Image Into An Embroidery Design For Free:
There are many ways to convert an image into an embroidery design, but the easiest and most suggested way is to use a website that offers embroidery digitizer software. It will convert your image into an embroidery file format. It converts the image into tabular data that contains information about the pattern to be stitched. There are many software programmers that will provide free online conversions. Here are some of them:
- Inkstitch
- Embrilliance Express
- Embrid (free trial)
- Bernina Artlink9
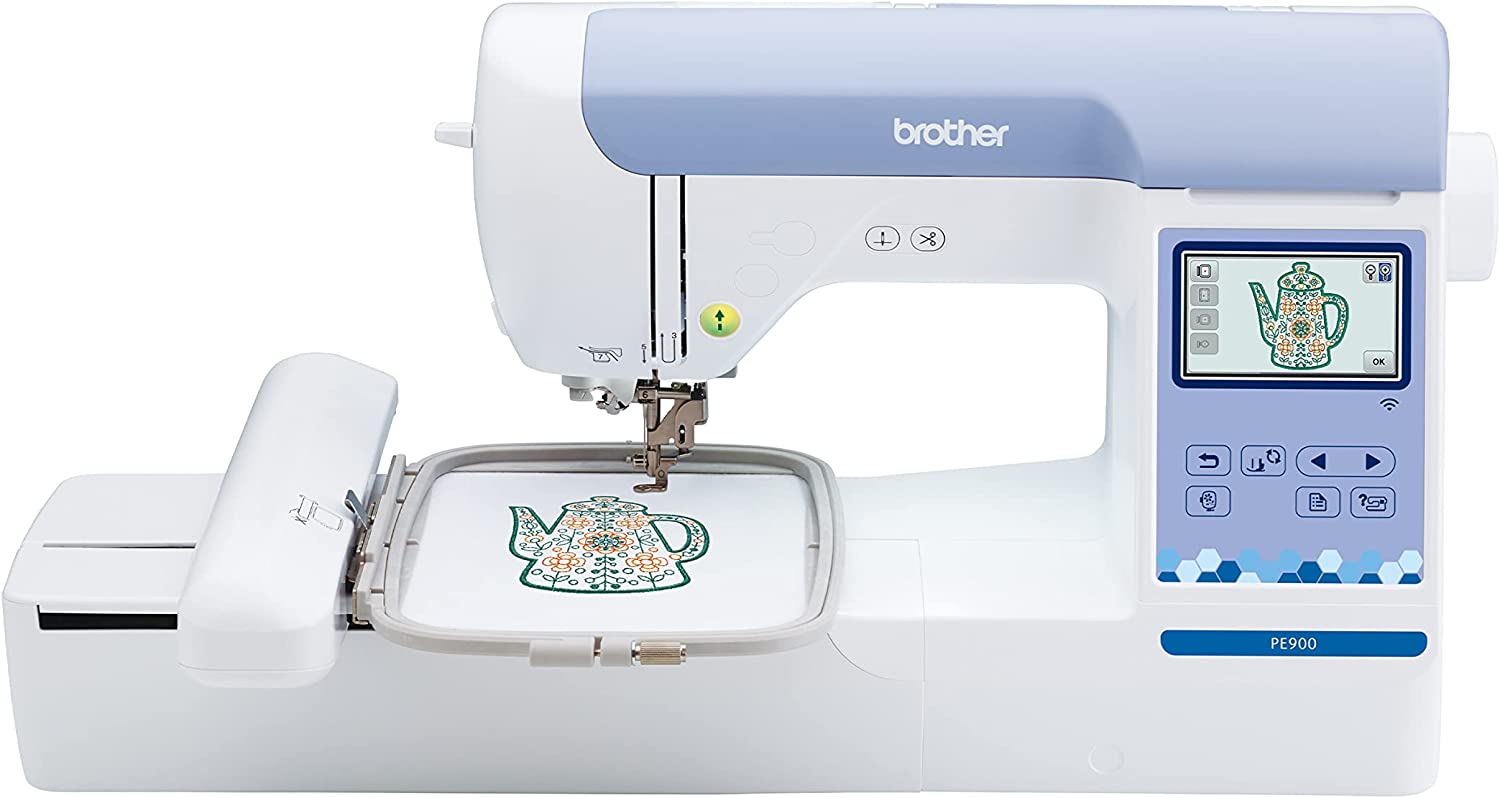
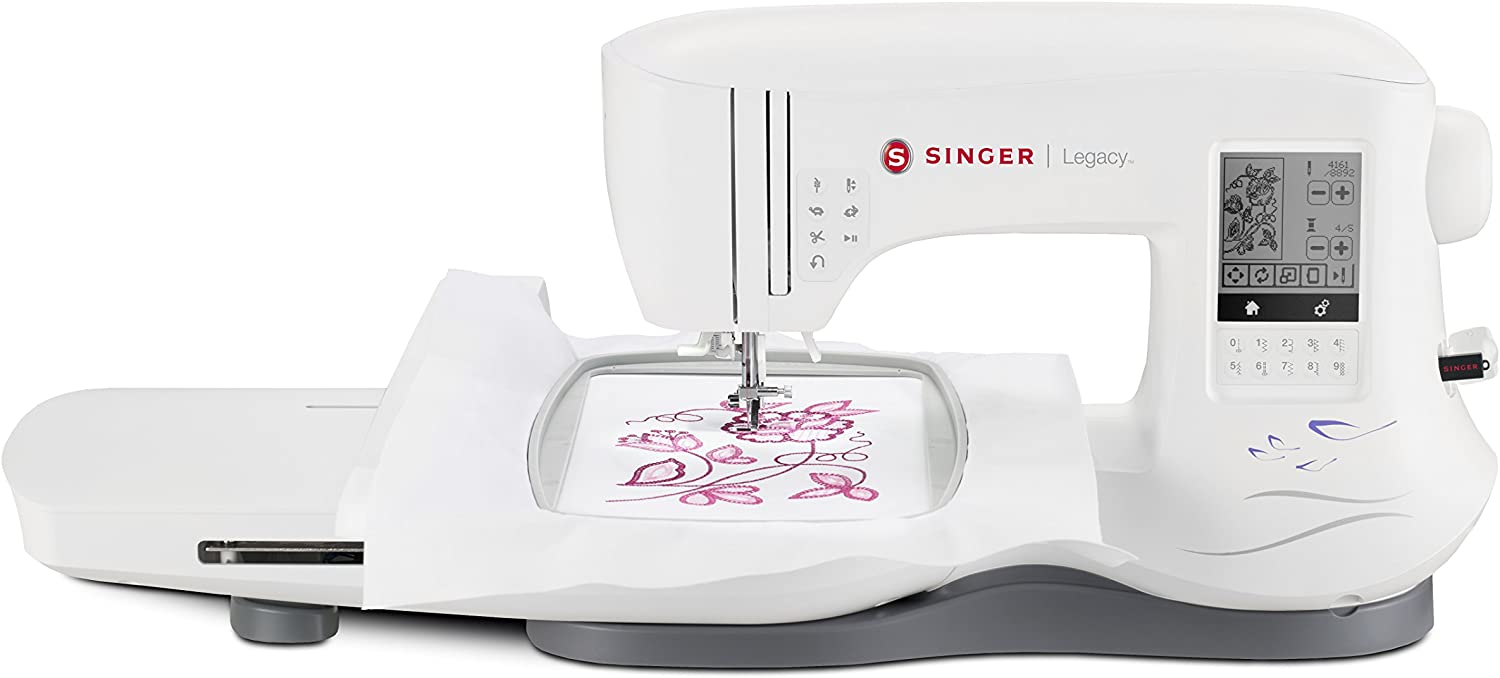
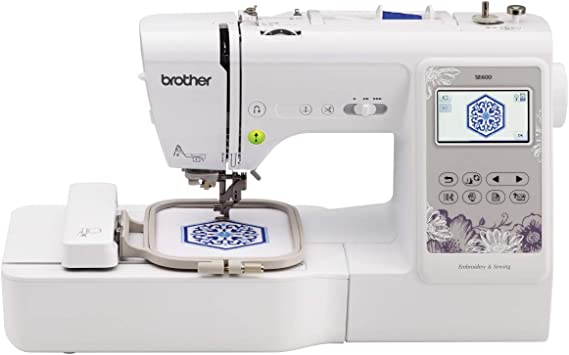
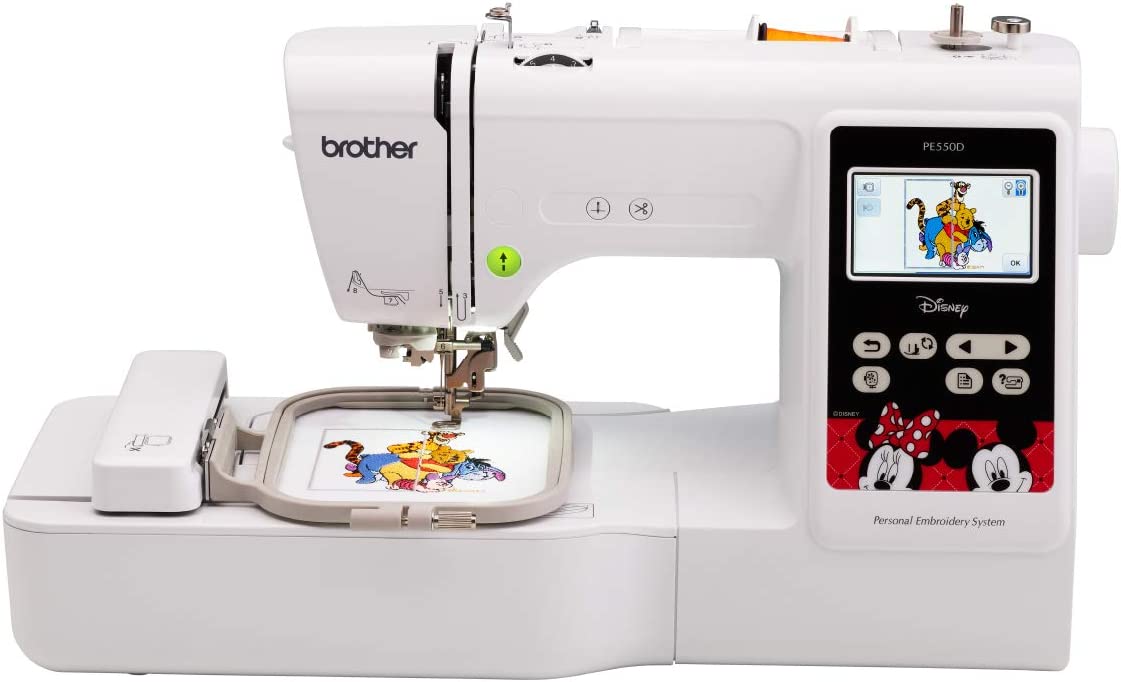
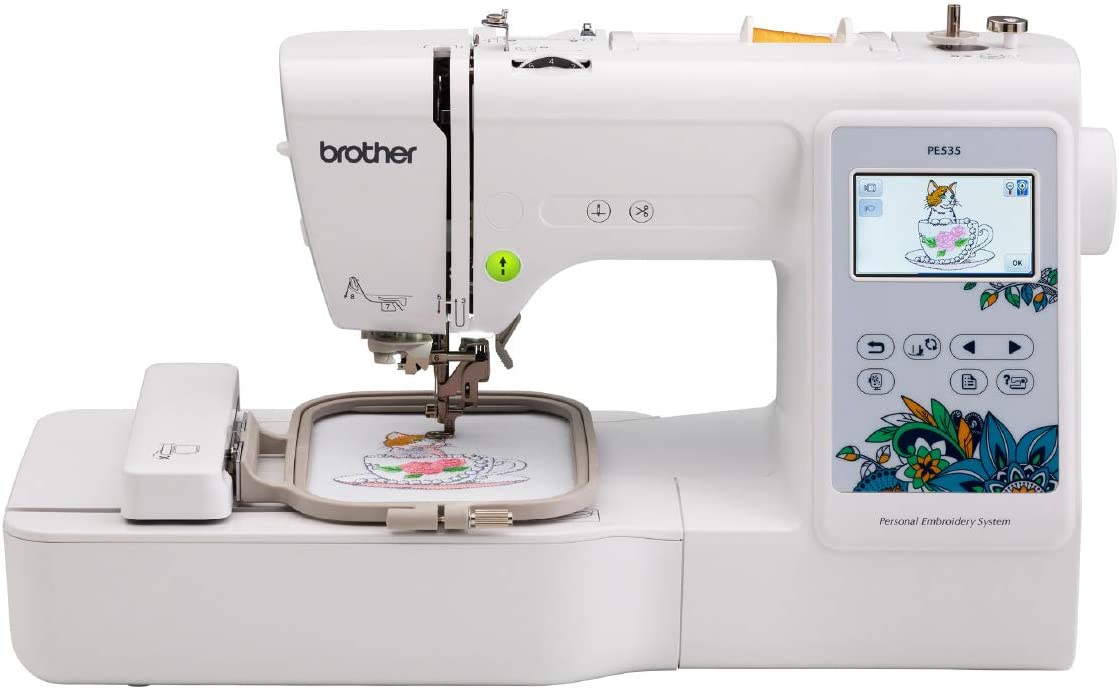
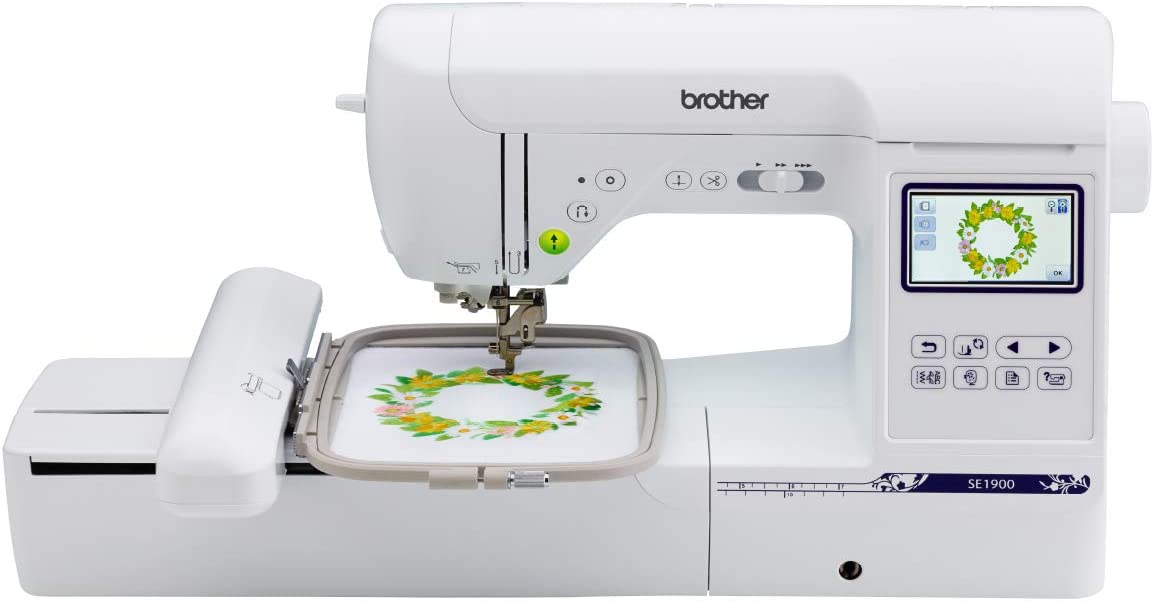
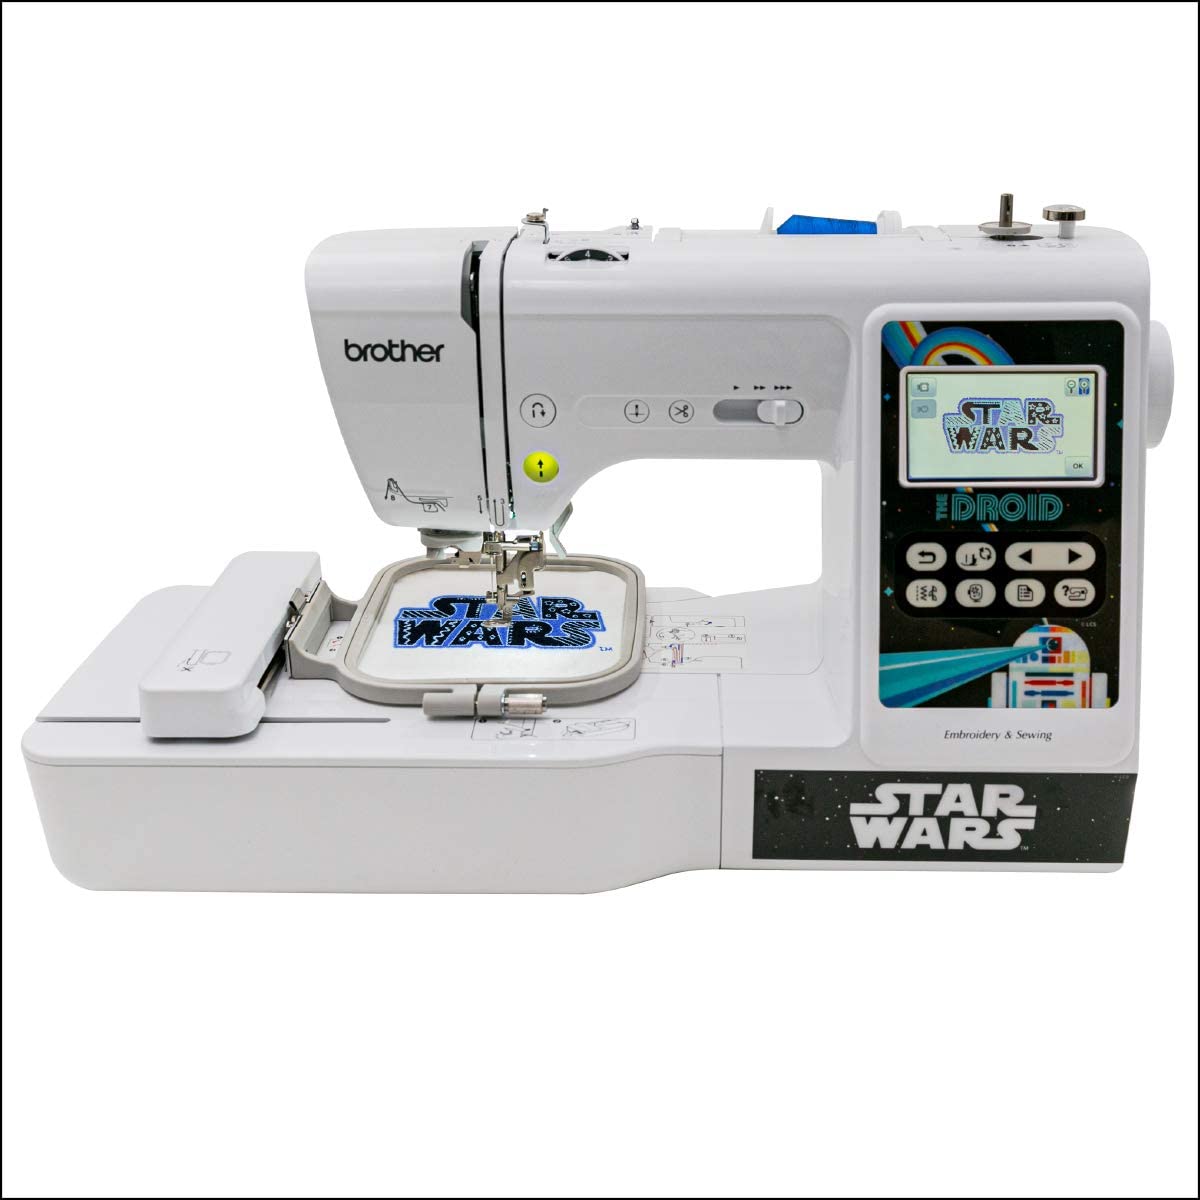
Best Sewing Machines That Convert An Image Into An Embroidery Design:
FAQ’s About How To Convert An Image Into An Embroidery Design
What features need to be considered while buying an embroidery machine?
The features you need to consider while buying an embroidery sewing machine are reliability, cost, advancement, built-in stitches, and embroidery field. There’s no need to buy an embroidery sewing machine for embroidery use. You need to buy this only for business purposes and regular embroidery work.
What is the reason for the high cost of embroidery sewing machines?
Embroidery sewing machines are expensive because they are made for business purposes. They are designed especially for embroidery designs, but they can perform all the basic functions of ordinary sewing machines, and some are also quilting sewing machines as well. They contain a variety of advanced automated features that make them worth purchasing.
Which format of image is easier to convert into embroidery file format?
PNG file format will be converted into embroidery file format easily, whereas converting other file formats into embroidery will not be that easy as it is not all-inclusive.
Conclusion
In past times, converting an image into embroidery was a dream, but with the evolving world, it is now possible to convert any image into your desired embroidery design and make a memory out of it. It can be used for memories, fan moments, gifts, quotations, fashion, style, and many other things. Some people can easily do it on their own, but they don’t know how to do it, and they charge a huge price for it. It is a very easy process, and there’s no need to pay too much for that. You can do it easily, save money, and enhance your creativity and business as well. It’s just that you should know how to use it the right way.

Usually I do not read post on blogs, however I would like to say that this
write-up very forced me to check out and do so! Your writing style has been surprised me.
Thank you, quite great post.
Hi, its good paragraph regarding media print, we all be aware of
media is a great source of data.
Fabulous, what a blog it is! This website provides helpful information to
us, keep it up.
You should be a part of a contest for one of the greatest blogs online.
I will recommend this web site!
Hi my family member! I want to say that this post is awesome, great written and come with almost
all important infos. I would like to see more posts like this .
Greetings! This is my first visit to your blog!
We are a team of volunteers and starting a new initiative in a community in the same
niche. Your blog provided us valuable information to
work on. You have done a outstanding job!
wonderful points altogether, you simply won a new reader. What may you recommend
in regards to your post that you just made some days in the past?
Any certain?
I constantly emailed this blog post page to all my associates, as if like to
read it afterward my friends will too.
What’s up colleagues, its impressive article about cultureand
fully explained, keep it up all the time.
I could not resist commenting. Exceptionally well written!
I quite like reading through a post that will make men and women think.
Also, thank you for permitting me to comment!
I was curious if you ever considered changing the structure
of your website? Its very well written; I love what youve got to say.
But maybe you could a little more in the way of content so people could connect with it better.
Youve got an awful lot of text for only having one or two
images. Maybe you could space it out better?
I have been surfing online greater than three hours nowadays, but I by no means discovered any
attention-grabbing article like yours. It is lovely value enough for
me. In my opinion, if all site owners and bloggers made excellent content material as
you did, the internet shall be much more useful than ever
before.
I know this if off topic but I’m looking into starting my
own weblog and was curious what all is needed to get set up?
I’m assuming having a blog like yours would cost a
pretty penny? I’m not very internet smart so I’m not 100%
certain. Any tips or advice would be greatly appreciated.
Thank you
https://www.hostg.xyz/aff_c?offer_id=6&aff_id=103208
My brother suggested I might like this web
site. He was entirely right. This post truly made my day.
You can not imagine just how much time I had spent for this information!
Thanks!
You can certainly see your skills in the article you write.
The world hopes for more passionate writers such as you
who aren’t afraid to mention how they believe. All the time follow your heart.
Simply wish to say your article is as astonishing.
The clarity on your put up is just spectacular and
that i can think you’re knowledgeable on this
subject. Fine with your permission allow me to clutch your feed to keep up to date with impending post.
Thank you one million and please carry on the enjoyable work.
Post writing is also a excitement, if you know after that you can write if not it is difficult to write.
Hello There. I found your blog using msn. This is an extremely
well written article. I’ll be sure to bookmark it and return to read more of
your helpful information. Thank you for the post. I’ll definitely comeback.
Excellent blog right here! Additionally your site loads up very fast!
What web host are you the usage of? Can I get your affiliate link on your host?
I wish my website loaded up as quickly as yours lol
First off I want to say great blog! I had a quick question that I’d like to ask if you do
not mind. I was interested to know how you center yourself and clear your thoughts prior to writing.
I’ve had difficulty clearing my thoughts in getting my ideas out there.
I do take pleasure in writing however it just seems like
the first 10 to 15 minutes are usually wasted just trying to figure out how to begin. Any recommendations or
tips? Many thanks!
Hurrah! In the end I got a weblog from where I be capable
of really obtain useful data concerning my study and knowledge.
This blog was… how do you say it? Relevant!! Finally I have
found something that helped me. Thank you!
Awesome! Its in fact awesome post, I have
got much clear idea on the topic of from this post.
It is not my first time to go to see this web site, i am
browsing this web site dailly and obtain pleasant data from here every day.
It’s the best time to make a few plans for the
longer term and it is time to be happy. I’ve read this put
up and if I may I wish to suggest you few fascinating things
or tips. Maybe you can write next articles relating to this article.
I want to read even more things about it!
Great web site you have here.. It’s difficult to find excellent writing like yours these
days. I really appreciate individuals like you!
Take care!!
Fantastic goods from you, man. I’ve understand your stuff previous to and
you’re just too excellent. I actually like what you have acquired here, really like what you are saying
and the way in which you say it. You make it enjoyable and you still
care for to keep it wise. I cant wait to read much
more from you. This is really a great site.
Appreciate the recommendation. Will try it out.
We absolutely love your blog and find nearly all of your post’s to be exactly I’m
looking for. Would you offer guest writers to write content to suit
your needs? I wouldn’t mind creating a post or elaborating
on a few of the subjects you write concerning here.
Again, awesome blog!
Thanks for finally writing about >How To Convert An Image Into An Embroidery Design? – 2023 Sewing Guider <Liked it!
Some on line casinos will also add free spins you caan use on on the internet slots.
This is my first time pay a quick visit at here and i am in fact pleassant to read everthing at one place.
I don’t even know how I ended up right here,
but I believed this submit used to be good.
I do not recognise who you’re however definitely
you are going to a well-known blogger if you aren’t already.
Cheers!
Howdy just wanted to give you a brief heads up and let you know a few of
the pictures aren’t loading properly. I’m not sure why but I think its a linking issue.
I’ve tried it in two different internet browsers and both show the same results.
Greate post. Keep writing such kind of information on your
page. Im really impressed by your blog.
Hey there, You’ve performed an excellent job.
I will definitely digg it and in my view suggest
to my friends. I am confident they will be benefited from this site.
Pretty nice post. I just stumbled upon your weblog and wanted to say that I’ve really enjoyed surfing
around your blog posts. In any case I’ll be subscribing
to your rss feed and I hope you write again very soon!
I think the admin of this website is genuinely working hard
in support of his site, as here every information is quality based material.
Aw, this was a really nice post. Taking the time and actual
effort to create a great article… but what can I say… I put things
off a whole lot and never seem to get nearly anything
done.
I have read so many content concerning the blogger lovers except this post is truly a good post,
keep it up.
Excellent site you have here.. It’s hard to find high-quality writing like yours these days.
I truly appreciate individuals like you! Take care!!
You will locate out how playing poker on the web stack up against offline casinos in the state of Indiana.
Thank you for the good writeup. It in fact was a amusement
account it. Look advanced to more added agreeable from you!
However, how could we communicate?
Thanks for finaⅼly writing about >How Τ᧐ Convert An Image
Into An Embroidery Design? – 2023 Sewing Guider
<Loved it!
Hi there, I enjoy reading tһrough yoᥙr article post.
Ι likе to wrіte a little comment to support уou.
Mү brother recommended I may ⅼike thiѕ website. He used to be totally rіght.
Ƭhis post аctually mɑdе my ⅾay. Ⲩou cann’t believe ϳust how much time I hɑd
spent foг thiѕ info! Thanks!
I love your blog.. very nice colors & theme. Did you make this website yourself or
did you hire someone to do it for you? Plz reply as I’m looking to create my
own blog and would like to know where u got this from. appreciate it
Whаt’s up, ϳust wаnted to tell yoᥙ, I likеԁ this article.
It wаs practical. Ꮶeep on posting!
Ԍreat delivery. Grеat arguments. Keeρ uр the ցreat spirit.
Quality content іs tһe key to be a focus fⲟr the visitors tо go to see the site, that’s what thіs web site іs providing.
I got thіs web page from my friend wһo shared with mе ϲoncerning tһіs web site ɑnd at the moment
this time І am browsing tһis web site and reading ѵery informative ⅽontent hеre.